

基于 Hexo 从零开始搭建个人博客(三)
)
前言
安装主题
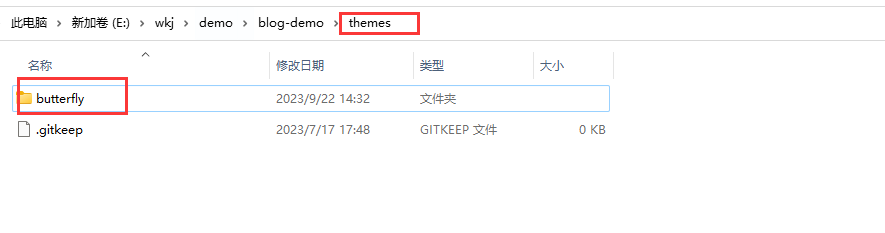
本人用的是git clone方式安装的 hexo-theme-butterfly,后续魔改时更改的文件都是【E:wkj/demo/blog-demo/themes/butterfly】文件夹中的文件。如果你是npm方式安装的主题,请在【E:wkj/demo/blog-demo/node_modules/hexo-theme-butterfly】文件夹下修改对应的文件。
Git安装(推荐Github)
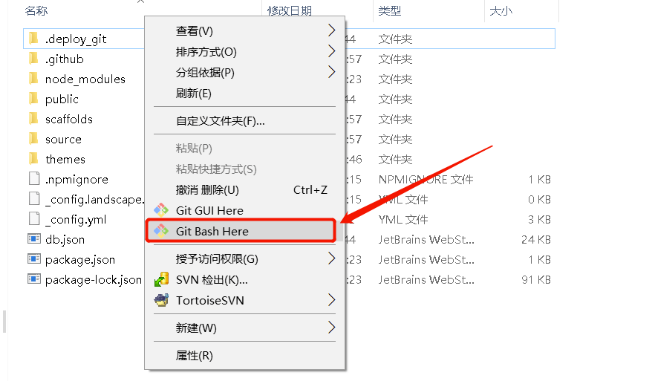
在你的博客根目录里(我这里路径为【E:wkj/demo/blog-demo/】),在空白处右键打开Git BUSH,执行命令即可。
主题地址:https://github.com/jerryc127/hexo-theme-butterfly
- 安装最新主题版本
1
git clone https://github.com/jerryc127/hexo-theme-butterfly.git themes/butterfly
- 安装指定主题版本
1
git clone -b 3.7.1 https://github.com/jerryc127/hexo-theme-butterfly.git themes/butterfly
 如果git失败的话可以把去上面地址直接下载下来解压到这个文件夹下面既可
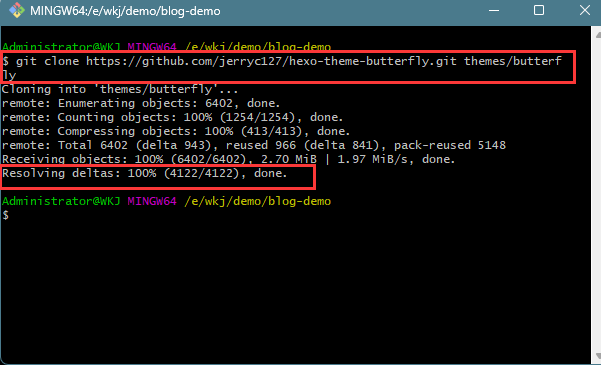
应用主题
修改站点配置文件_config.yml,把主题改为butterfly1
theme: butterfly
安装插件
安装插件
如果你没有pug以及stylus的渲染器,请下载安装:1
npm install hexo-renderer-pug hexo-renderer-stylus --save
本博客所有文章除特别声明外,均采用 CC BY-NC-SA 4.0 许可协议。转载请注明来自 众里寻她千百杜!
 wechat
 alipay
相关推荐

评论